Landing pages and forms are an absolute must if you do business online. With Keap’s easy-to-use tools and proven templates, you can capture more leads directly into our small business CRM, manage them efficiently and convert them into brand-new customers.
14-day free trial. No credit card required.
Beautiful landing pages. Seamless customer experiences.
Lead capture
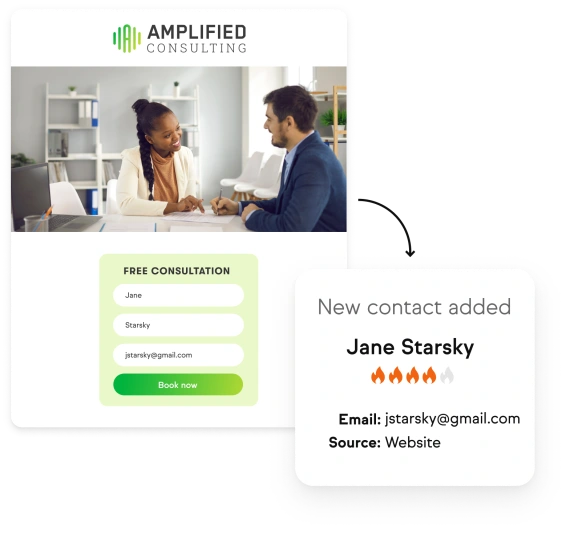
To build your customer list, you need a way to ask for their contact information so you can market to them. With Keap’s landing pages, you can embed customized forms into your landing page designs with ease.
Personalized follow-up
Once your forms have collected data from new leads, that information flows directly into your Keap CRM. Then, you can automate personalized content and messages based on the tags you’ve already set.
Intuitive builders
No, you won’t need to learn how to code. Using Keap’s landing page templates, drag-and-drop functionality and free images, you can create a landing page in minutes or hours, rather than days.
Mobile and security
Your potential customers will expect mobile responsiveness and data security features from any small business site they visit. Good news — those details are built into Keap’s platform.
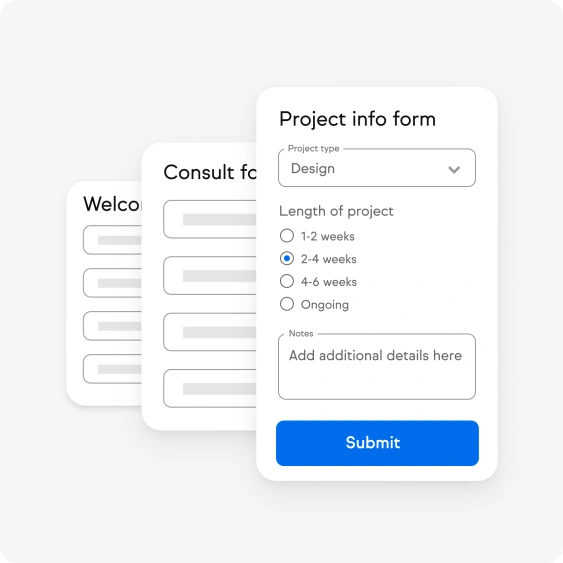
One little form can do big things for your business
Not all customers prefer to do business online. For those that call or even stop into your small business, Keap’s internal forms allow your team to quickly capture information, apply tags that identify the type of customer they are, and create the automated follow-up sequences that will serve them best.
I went from 19 clients to 36 in less than 60 days without having to put in an extra minute of work!
Jenn Malecha | Wholistic Health Boss
Frequently asked questions
-
What is a landing page?
While a normal website, like your homepage, is built for exploration and branding, a landing page is created for visitors to take action — making a purchase, downloading a document or providing a link for follow-up. A landing page is optimized for conversion and is visited after your target audience clicks on an ad or link that you serve them.
-
How do I follow up with a contact who fills out a landing page?
Landing pages are available in both Easy and Advanced Automations to create automatic follow-up after a contact fills out a landing page form.